If you're a U.S. expat living, traveling, or studying abroad, or just someone who typically uses virtual private networks (VPNs) in order to access the North American video libraries of services like Hulu or Netflix, you were probably surprised to see that these video streaming services don't work on your Chromecast or Chromecast 2.
For people living outside of the United States, Google's Chromecast is hardcoded to use Google's domain name system (DNS). This means that even if you use a VPN and connect your main device to it, the Chromecast itself will still detect your region as outside the United States and restrict your access. That means you won't be able to watch the U.S. versions of Netflix, Hulu, and other streaming media websites.
But don't rush off to return it just yet—there is a way to get around this annoyance, and I'm going to run you through it.
What You'll Need
- A smart DNS provider
- A router supporting manual DNS input (almost any router)
Step 1: Get a Smart DNS
You'll need a smart DNS service for this to work. There are more complicated ways like rooting your Chromecast, but that entails a certain risk and greater investment than rooting a smartphone. Luckily, smart DNS services are pretty awesome—they unblock region-restricted streaming sites without slowing down your net connection.
I recommend Unblock-us because it's super easy to use and fairly cheap, running either $4.99/month or $49.90/year. If you're using a VPN for streaming, you should switch over immediately. But if you're also torrenting under a VPN for some reason, then you may want to keep your VPN as well, as smart DNS services don't provide anonymity.
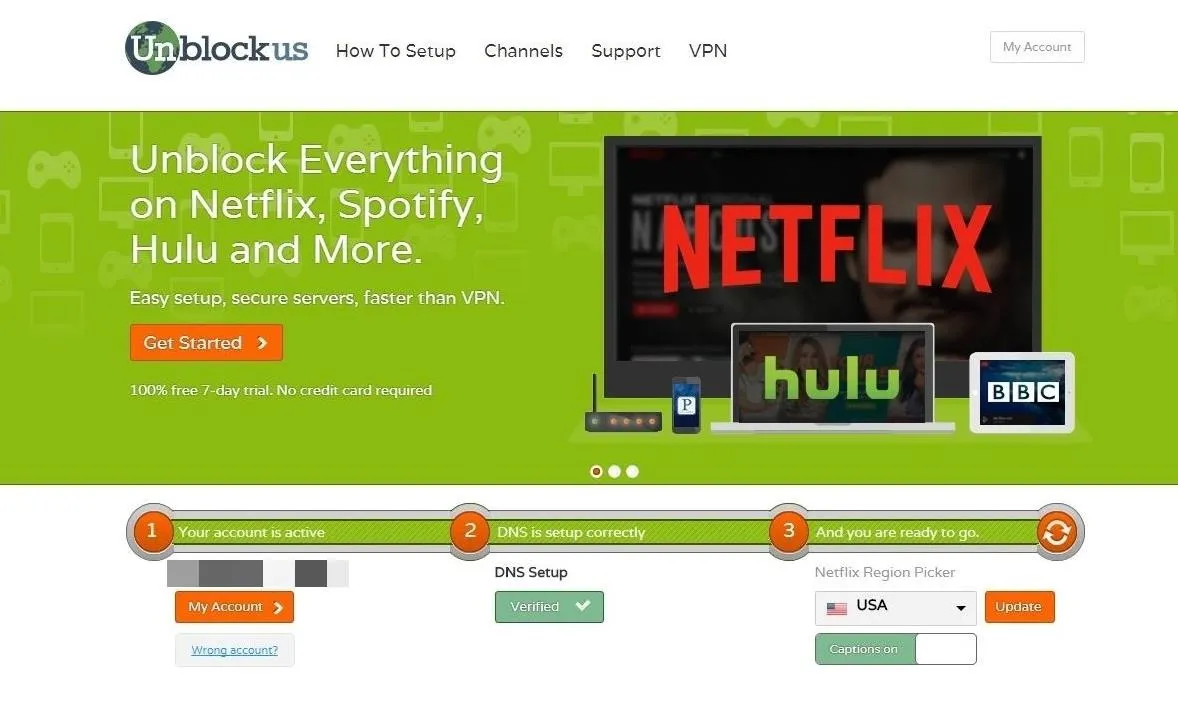
Unblock-us offers a 7-day free trial with no personal information required other than an email address, so you can sign up without commitment to see if you'll benefit from the service.
Other than Unblock-us, we're big fans of UnoTelly, but in reality, you have no shortage of options.
Step 2: Access Your Router
Type the IP address of your router into the address bar of your browser. If you don't know it, try checking the router itself for the address printed on a sticker. If that fails, look here for a guide to common router manufacturers and their associated IP addresses.

Step 3: Find the Setup Information
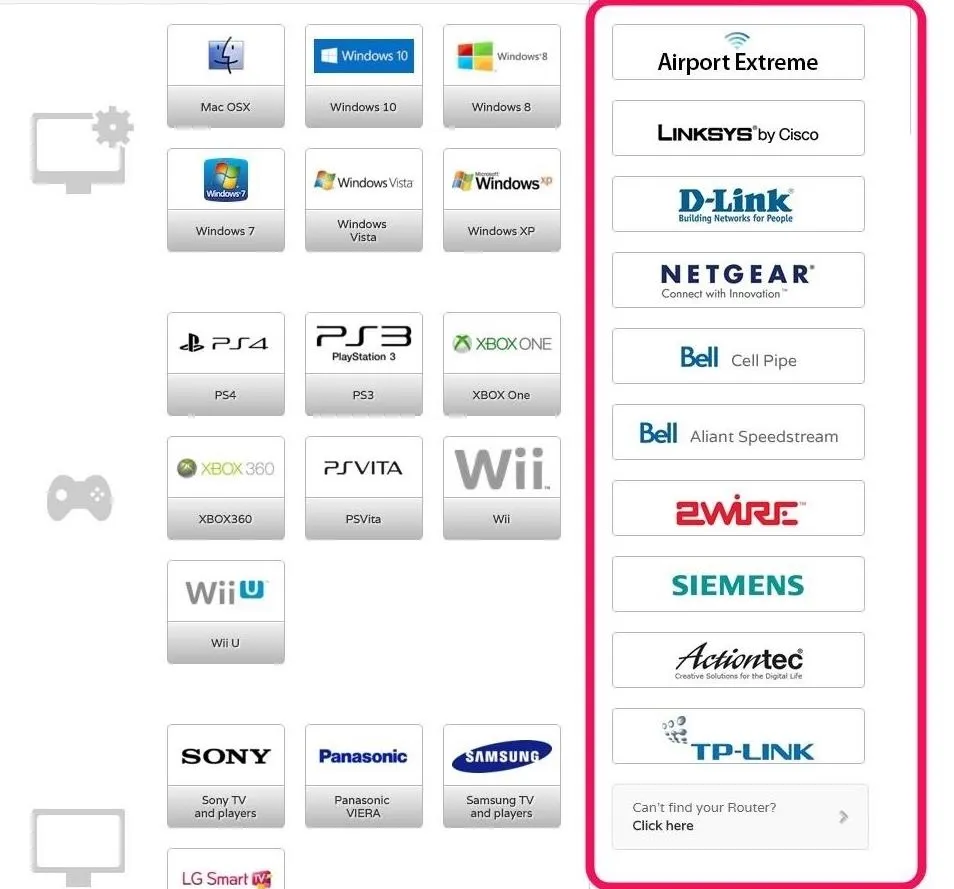
Find the setup information for your smart DNS service—if using Unblock-us, just click the How To Setup button at the top of the page. If your router is listed on the right, you can simply click on it and follow the instructions. If not, click the Can't find your Router? link at the bottom of the list.
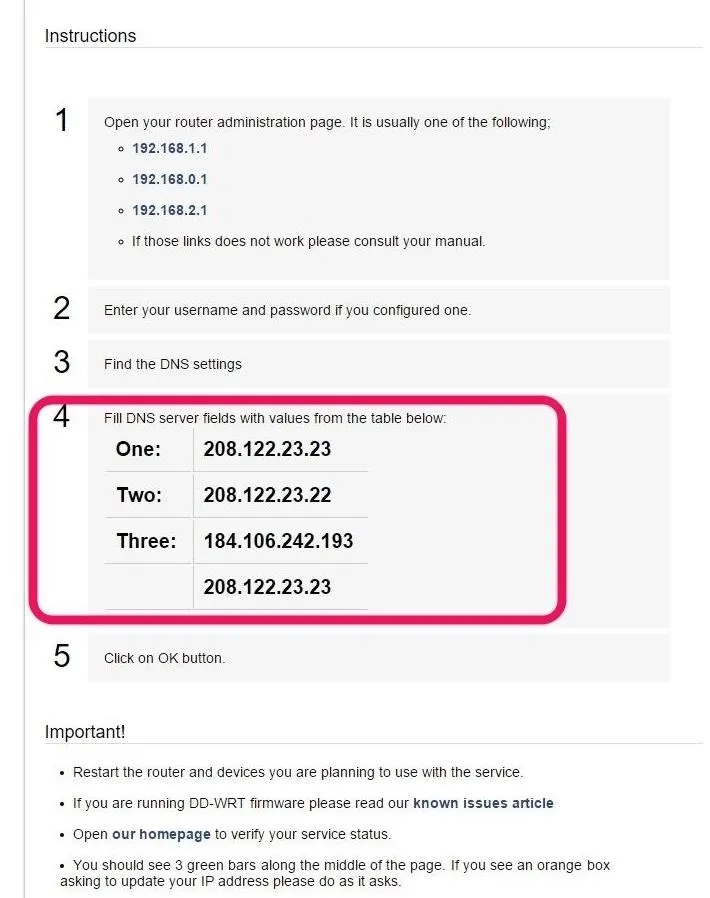
Find the list of DNS addresses, then select any two from the list.
Step 4: Add the DNS Information to Your Router
Find the DNS server address settings for your router. They are typically located in a tab labeled Internet or something similar.
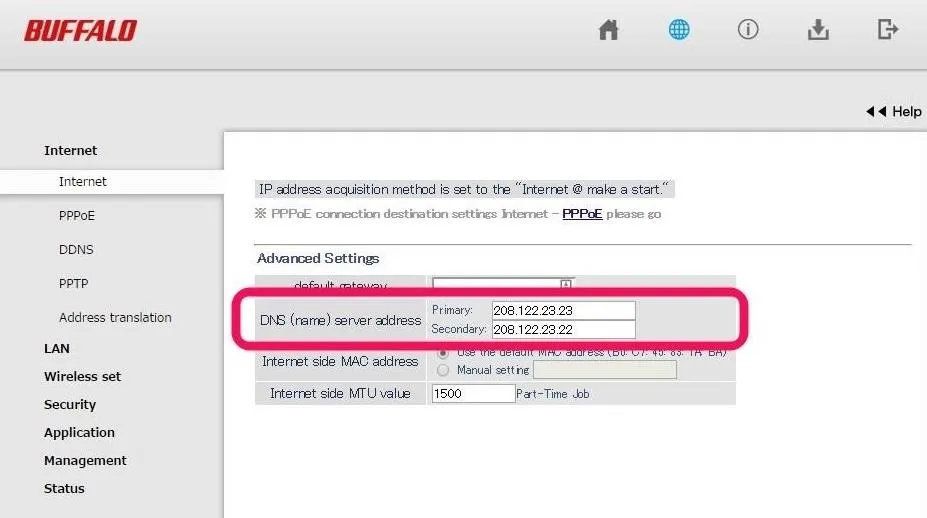
Insert the two DNS addresses obtained from the smart DNS site into the primary and secondary DNS slots. You may want to jot down the original addresses already there in case you should ever want to revert.
When you're ready, save the changes and your router will likely reboot.
Step 5: Reroute the Google DNS
Now to tackle the other problem, the Google DNS. Go to a tab labeled something like Routing Information in your router's settings—check the image below for comparison. This page will allow you to reroute specific IPs.
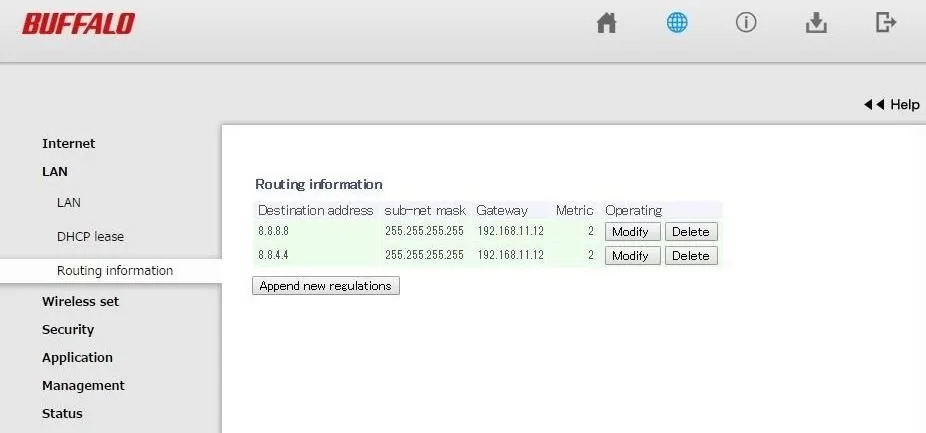
You need to create 2 entries here representing each of Google's DNS addresses, the primary and the secondary. In the Destination address fields, enter 8.8.8.8 and 8.8.4.4. Leave the subnet mask fields set to the default, which should be 255.255.255.255 in most cases. For Metric, input 2. For Gateway, you have to choose a device IP on your network. It doesn't matter which, it just has to be valid—you can just choose the Chromecast itself.
You should be able to access a list of all connected devices in your router's settings. Look for something labeled like Device Control.
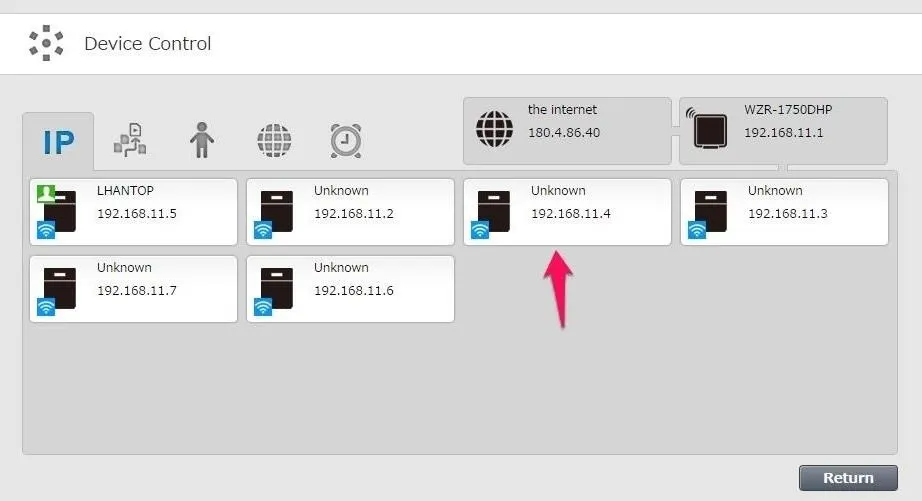
This will block off the Google DNS on your Chromecast, enabling you to stream unhindered. Save the options, and your router will likely restart again.
Step 6: Finish Up
Activate your smart DNS with your internet address, which will likely involve you visiting the website on a network-connected device and signing in to your account.
If you're using Unblock-us, sign in and click the click here to activate your new internet address button in the yellow box above the green progress bar.
That's it! Fire up Netflix or another region-restricted service and enjoy all the content you can handle on your Chromecast. Any devices connected to your Wi-Fi network will automatically receive the benefits of the smart DNS.
Does using a smart DNS service fix your streaming woes? Let us know in the comment section below, or drop us a line on Facebook, Google+, or Twitter.
Cover image via Victor Caputo/Flickr


Comments
No Comments Exist
Be the first, drop a comment!